Deepkit Framework
Deepkit Framework は @deepkit/app の Deepkit App を基盤としており、@deepkit/framework の FrameworkModule モジュールを提供します。これはアプリケーションにインポートできます。
App 抽象は以下を提供します:
- CLI コマンド
- 設定の読み込み(環境変数、ドットファイル、カスタム)
- モジュールシステム
- 強力なサービスコンテナ
- コントローラー、プロバイダー、リスナーなどのためのレジストリとフック
FrameworkModule モジュールは追加の機能を提供します:
- アプリケーションサーバー
- HTTP サーバー
- RPC サーバー
- マルチプロセス負荷分散
- SSL
- デバッグ用 CLI コマンド
- データベースマイグレーションの設定/コマンド
{debug: true}オプションによるデバッグ/プロファイラー GUI- インタラクティブな API ドキュメント(Swagger のような)
- DatabaseRegistry、ProcessLocking、Broker、Sessions 用のプロバイダー
- 統合テスト用 API
FrameworkModule の有無にかかわらずアプリケーションを作成できます。
インストール
Deepkit Framework は Deepkit App を基盤としています。そのインストール手順に従っていることを確認してください。
完了していれば、Deepkit Framework をインストールし、App に FrameworkModule をインポートできます。
npm install @deepkit/framework
import { App } from '@deepkit/app';
import { FrameworkModule } from '@deepkit/framework';

const app = new App({
    imports: [new FrameworkModule({ debug: true })]
});

app.command('test', (logger: Logger) => {
    logger.log('Hello World!');
});

app.run();
アプリが FrameworkModule をインポートしたため、トピックごとにグループ化された追加のコマンドが利用可能になっているのが分かります。
そのひとつが server:start で、HTTP サーバーを起動します。これを使用するには、少なくとも 1 つの HTTP ルートを登録する必要があります。
import { App } from '@deepkit/app';
import { HttpRouterRegistry } from '@deepkit/http';

const app = new App({
    imports: [new FrameworkModule({ debug: true })]
});

app.command('test', (logger: Logger) => {
    logger.log('Hello World!');
});


const router = app.get(HttpRouterRegistry);

router.get('/', () => {
    return 'Hello World';
})

app.run();
再度 server:start コマンドを実行すると、HTTP サーバーが起動し、ルート / が利用可能になっていることが分かります。
$ ./node_modules/.bin/ts-node ./app.ts server:start
$ curl http://localhost:8080/
Hello Worldリクエストの処理方法については、HTTP 章または RPC 章を参照してください。App 章では CLI コマンドについてさらに学べます。
App
App クラスはアプリケーションのメインエントリポイントです。すべてのモジュールや設定の読み込み、アプリケーションの起動を担当します。
また、すべての CLI コマンドの読み込みと実行も担当します。FrameworkModule のようなモジュールは、追加のコマンドを提供し、イベントリスナーを登録し、
HTTP/RPC 用のコントローラー、サービスプロバイダーなどを提供します。
この app オブジェクトは、CLI コントローラーを実行せずに依存性注入コンテナへアクセスするためにも使用できます。
const app = new App({
    imports: [new FrameworkModule]
});

//get access to all registered services
const eventDispatcher = app.get(EventDispatcher);
FrameworkModule が多くのもの(Logger、ApplicationServer、そしてその他多数)と同様に EventDispatcher をサービスプロバイダーとして登録しているため、EventDispatcher を取得できます。
独自のサービスを登録することもできます。
class MyService {
    constructor(private logger: Logger) {
    }

    helloWorld() {
        this.logger.log('Hello World');
    }
}

const app = new App({
    providers: [MyService],
    imports: [new FrameworkModule]
});

const service = app.get(MyService);

service.helloWorld();
デバッガー
アプリケーションおよびすべてのモジュールの設定値はデバッガーで表示できます。FrameworkModule の debug オプションを有効にし、http://localhost:8080/_debug/configuration を開きます。
import { App } from '@deepkit/app';
import { FrameworkModule } from '@deepkit/framework';

new App({
    config: Config,
    controllers: [MyWebsite],
    imports: [
        new FrameworkModule({
            debug: true,
        })
    ]
}).run();
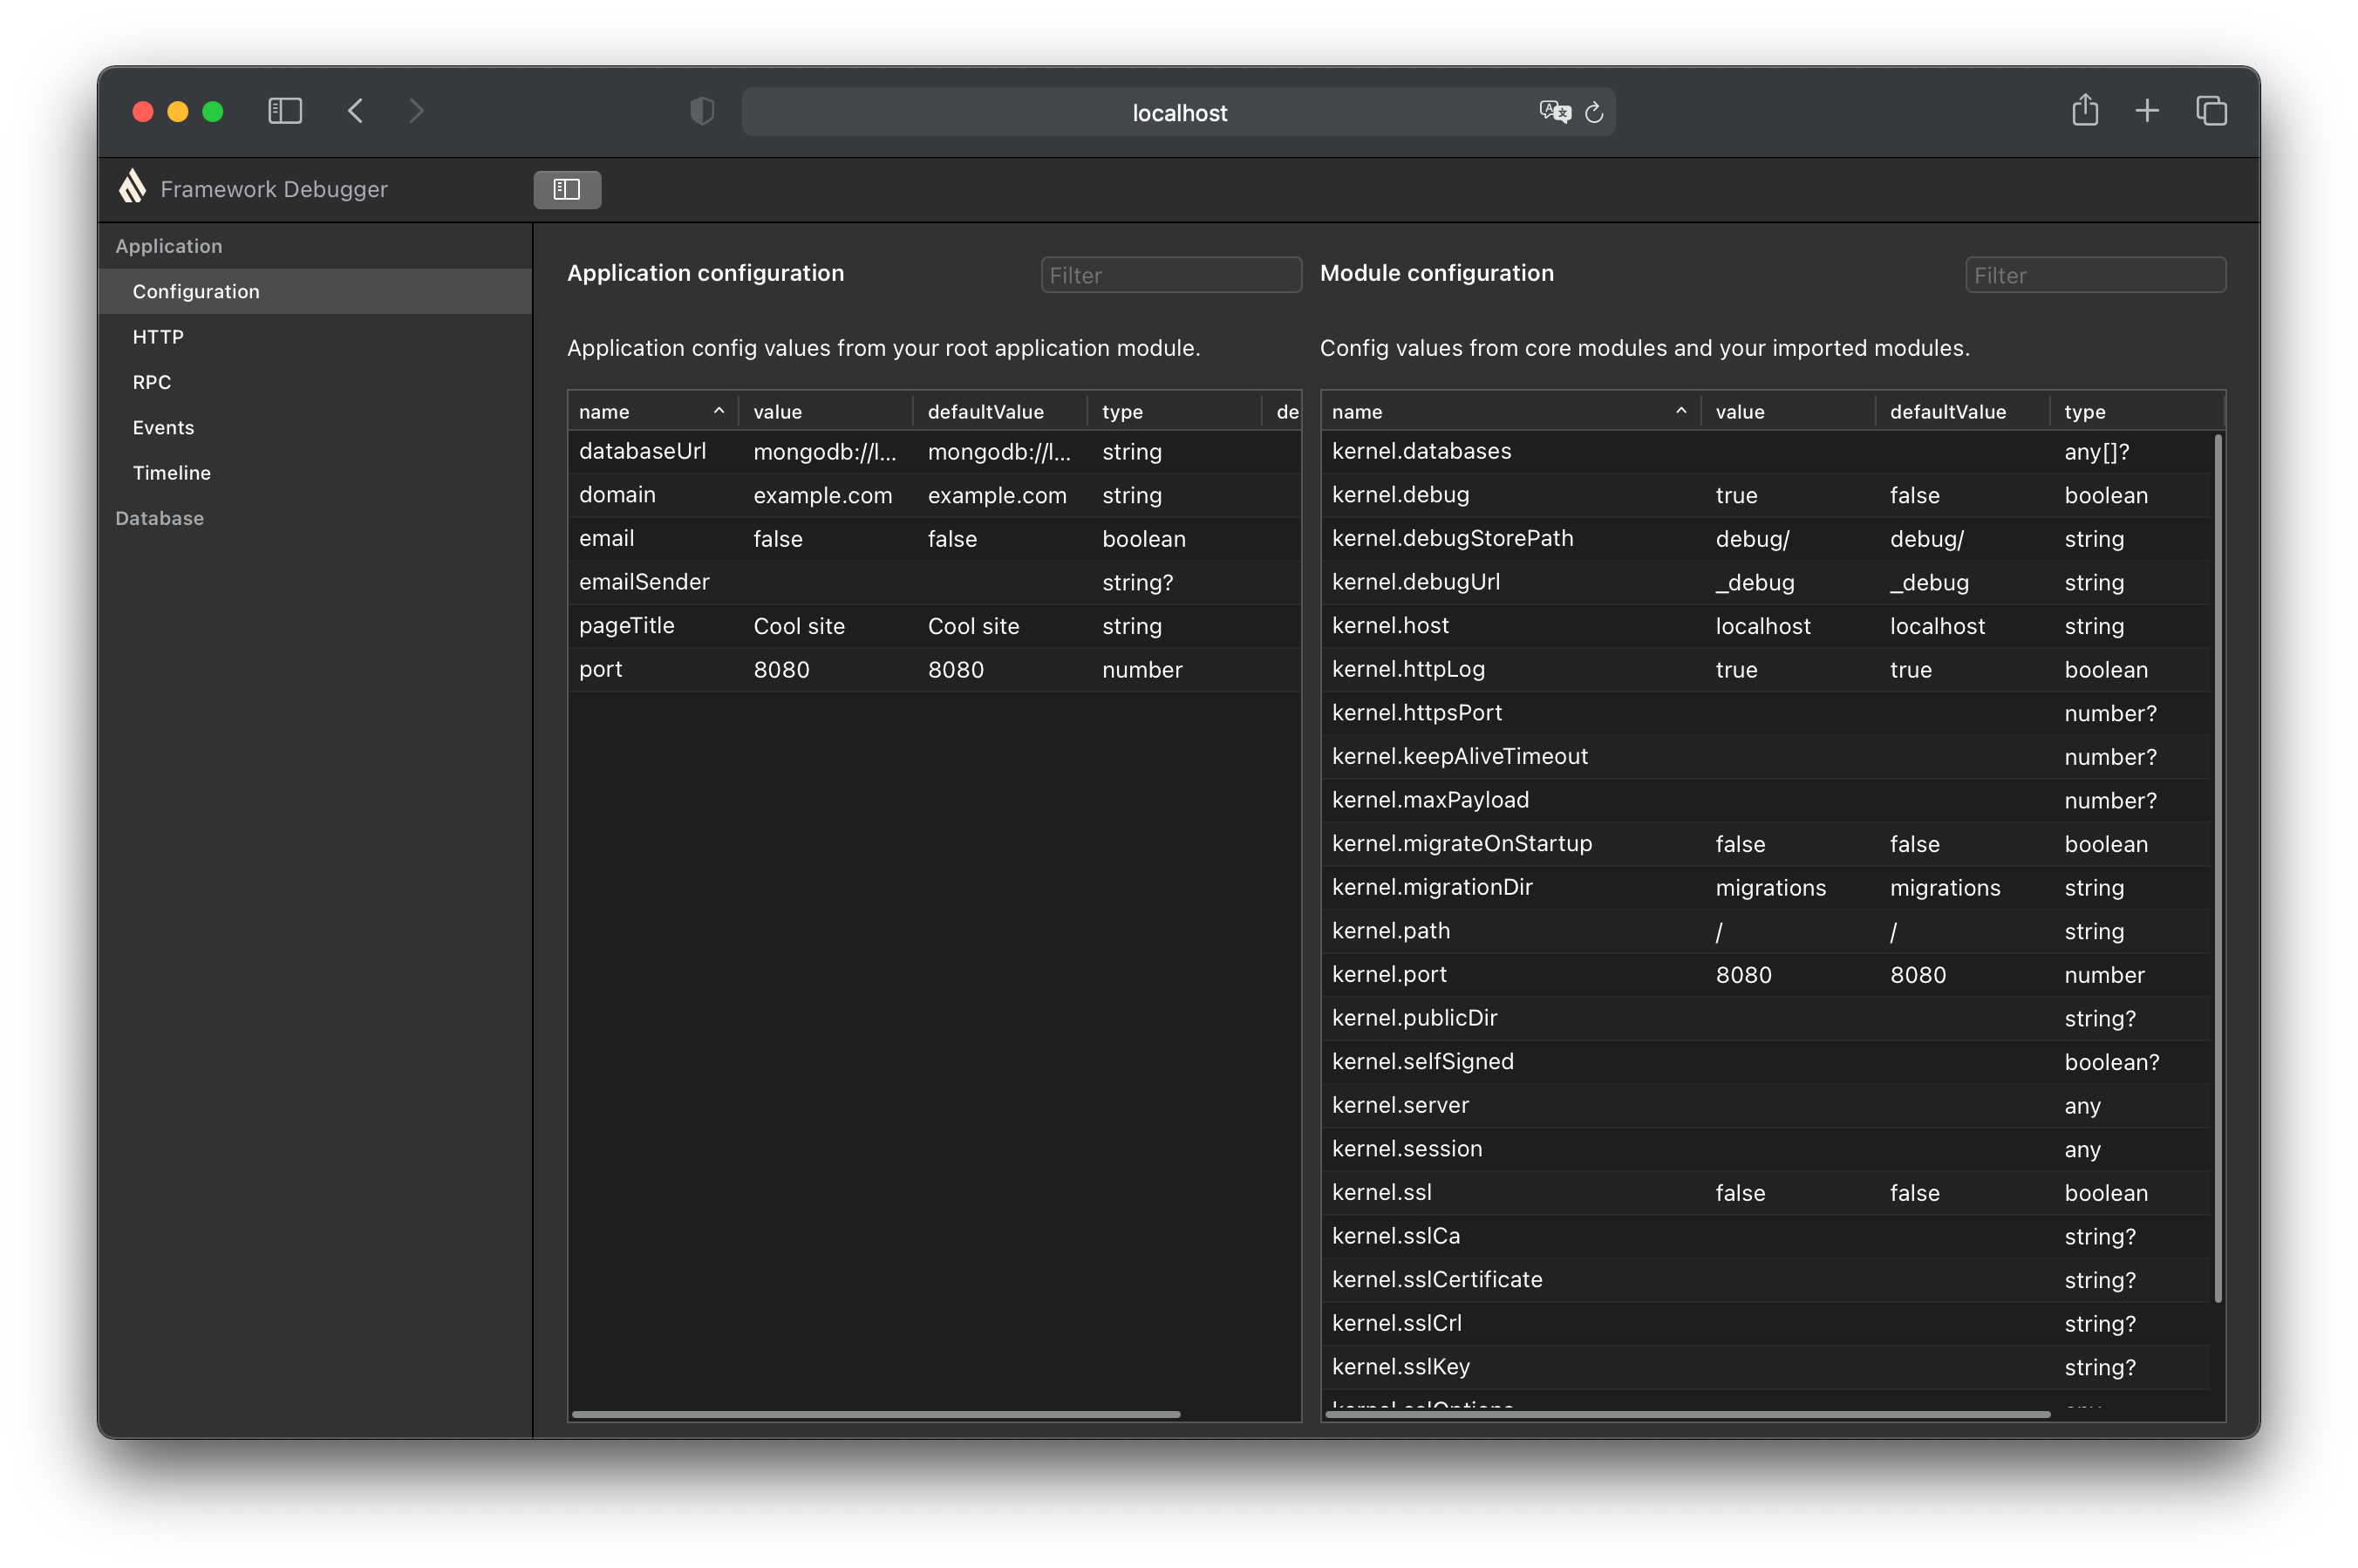
また、ts-node app.ts app:config を使用して、利用可能なすべての設定オプション、現在の値、デフォルト値、説明、データ型を表示することもできます。
$ ts-node app.ts app:config
Application config
┌─────────┬───────────────┬────────────────────────┬────────────────────────┬─────────────┬───────────┐
│ (index) │     name      │         value          │      defaultValue      │ description │   type    │
├─────────┼───────────────┼────────────────────────┼────────────────────────┼─────────────┼───────────┤
│    0    │  'pageTitle'  │     'Other title'      │      'Cool site'       │     ''      │ 'string'  │
│    1    │   'domain'    │     'example.com'      │     'example.com'      │     ''      │ 'string'  │
│    2    │    'port'     │          8080          │          8080          │     ''      │ 'number'  │
│    3    │ 'databaseUrl' │ 'mongodb://localhost/' │ 'mongodb://localhost/' │     ''      │ 'string'  │
│    4    │    'email'    │         false          │         false          │     ''      │ 'boolean' │
│    5    │ 'emailSender' │       undefined        │       undefined        │     ''      │ 'string?' │
└─────────┴───────────────┴────────────────────────┴────────────────────────┴─────────────┴───────────┘
Modules config
┌─────────┬──────────────────────────────┬─────────────────┬─────────────────┬────────────────────────────────────────────────────────────────────────────────────────────────────┬────────────┐
│ (index) │           name               │      value      │  defaultValue   │                                            description                                             │    type    │
├─────────┼──────────────────────────────┼─────────────────┼─────────────────┼────────────────────────────────────────────────────────────────────────────────────────────────────┼────────────┤
│    0    │       'framework.host'       │   'localhost'   │   'localhost'   │                                                 ''                                                 │  'string'  │
│    1    │       'framework.port'       │      8080       │      8080       │                                                 ''                                                 │  'number'  │
│    2    │    'framework.httpsPort'     │    undefined    │    undefined    │ 'If httpsPort and ssl is defined, then the https server is started additional to the http-server.' │ 'number?'  │
│    3    │    'framework.selfSigned'    │    undefined    │    undefined    │           'If for ssl: true the certificate and key should be automatically generated.'            │ 'boolean?' │
│    4    │ 'framework.keepAliveTimeout' │    undefined    │    undefined    │                                                 ''                                                 │ 'number?'  │
│    5    │       'framework.path'       │       '/'       │       '/'       │                                                 ''                                                 │  'string'  │
│    6    │     'framework.workers'      │        1        │        1        │                                                 ''                                                 │  'number'  │
│    7    │       'framework.ssl'        │      false      │      false      │                                       'Enables HTTPS server'                                       │ 'boolean'  │
│    8    │    'framework.sslOptions'    │    undefined    │    undefined    │                   'Same interface as tls.SecureContextOptions & tls.TlsOptions.'                   │   'any'    │
...
アプリケーションサーバー
ファイル構造
自動 CRUD
イベント
Deepkit フレームワークには、イベントリスナーを登録できるさまざまなイベントトークンが用意されています。
イベントの仕組みについて詳しくは、イベント 章を参照してください。
イベントのディスパッチ
イベントは EventDispatcher クラスを介して送信されます。Deepkit アプリでは、これは依存性注入を通じて提供されます。
import { cli, Command } from '@deepkit/app';
import { EventDispatcher } from '@deepkit/event';

@cli.controller('test')
export class TestCommand implements Command {
    constructor(protected eventDispatcher: EventDispatcher) {
    }

    async execute() {
        this.eventDispatcher.dispatch(UserAdded, new UserEvent({ username: 'Peter' }));
    }
}