Database
Deepkit has its own powerful database abstraction library called Deepkit ORM. It is an Object-Relational Mapping (ORM) library that facilitates work with SQL databases and MongoDB.
Although you can use any database library, we recommend Deepkit ORM as it is the fastest TypeScript database abstraction library that is perfectly integrated with the Deepkit framework and has many features that will improve your workflow and efficiency.
This chapter explains how to use Deepkit ORM with your Deepkit app. To get all the information about Deepkit ORM, see the ORM chapter.
Database Classes
The simplest way to use the Database object of Deepkit ORM within the application is to register a class that derives from it.
import { Database } from '@deepkit/orm';
import { SQLiteDatabaseAdapter } from '@deepkit/sqlite';
import { User } from './models';

export class SQLiteDatabase extends Database {
    constructor() {
        super(
            new SQLiteDatabaseAdapter('/tmp/myapp.sqlite'),
            [User]
        );
    }
}
Create a new class and in its constructor specify the adapter with its parameters and add to the second parameter all entity models that should be connected to this database.
You can now register this database class as a provider. We also enable migrateOnStartup which will automatically create all tables in your database at bootstrap. This is ideal for rapid prototyping, but is not recommended for a serious project or production setup. Normal database migrations should then be used here.
We also enable debug, which allows us to open the debugger when the application's server is started and manage your database models directly in its built-in ORM browser.
import { App } from '@deepkit/app';
import { FrameworkModule } from '@deepkit/framework';
import { SQLiteDatabase } from './database.ts';

new App({
    providers: [SQLiteDatabase],
    imports: [
        new FrameworkModule({
            migrateOnStartup: true,
            debug: true,
        })
    ]
}).run();
You can now access SQLiteDatabase anywhere using Dependency Injection:
import { SQLiteDatabase } from './database.ts';

export class Controller {
    constructor(protected database: SQLiteDatabase) {}

    @http.GET()
    async startPage(): Promise<User[]> {
        //return all users
        return await this.database.query(User).find();
    }
}
Configuration
In many cases you want your connection credentials to be configurable. For example, you want to use a different database for testing than for production. You can do this by using the config option of the Database class.
//database.ts
import { Database } from '@deepkit/orm';
import { PostgresDatabaseAdapter } from '@deepkit/sqlite';
import { User } from './models';

type DbConfig = Pick<AppConfig, 'databaseHost', 'databaseUser', 'databasePassword'>;

export class MainDatabase extends Database {
    constructor(config: DbConfig) {
        super(new PostgresDatabaseAdapter({
            host: config.databaseHost,
            user: config.databaseUser,
            password: config.databasePassword,
        }), [User]);
    }
}
//config.ts
export class AppConfig {
    databaseHost: string = 'localhost';
    databaseUser: string = 'postgres';
    databasePassword: string = '';
}
//app.ts
import { App } from '@deepkit/app';
import { FrameworkModule } from '@deepkit/framework';
import { MainDatabase } from './database.ts';
import { AppConfig } from './config.ts';

const app = new App({
    config: AppConfig,
    providers: [MainDatabase],
    imports: [
        new FrameworkModule({
            migrateOnStartup: true,
            debug: true,
        })
    ]
});
app.loadConfigFromEnv({prefix: 'APP_', namingStrategy: 'upper', envFilePath: ['local.env', 'prod.env']});
app.run();
Now, since we use loadConfigFromEnv, we can set the database credentials via environment variables.
APP_DATABASE_HOST=localhost APP_DATABASE_USER=postgres ts-node app.ts server:start
or in the local.env file and start ts-node app.ts server:start without any previously set environment variables.
APP_DATABASE_HOST=localhost APP_DATABASE_USER=postgres
Multiple Databases
You can add as many database classes as you like and name them as you like. Be sure to change the name of each database so that it doesn't conflict with others when you use Deepkit ORM Browser.
Manage Data
You now have everything set up to manage your database data with the Deepkit ORM Browser. To open Deepkit ORM Browser and manage the content, write all the steps from above in the app.ts file and start the server.
$ ts-node app.ts server:start
2021-06-11T15:08:54.330Z [LOG] Start HTTP server, using 1 workers.
2021-06-11T15:08:54.333Z [LOG] Migrate database default
2021-06-11T15:08:54.336Z [LOG] RPC DebugController deepkit/debug/controller
2021-06-11T15:08:54.337Z [LOG] RPC OrmBrowserController orm-browser/controller
2021-06-11T15:08:54.337Z [LOG] HTTP OrmBrowserController
2021-06-11T15:08:54.337Z [LOG]     GET /_orm-browser/query httpQuery
2021-06-11T15:08:54.337Z [LOG] HTTP StaticController
2021-06-11T15:08:54.337Z [LOG]     GET /_debug/:any serviceApp
2021-06-11T15:08:54.337Z [LOG] HTTP listening at http://localhost:8080/
You can now open http://localhost:8080/_debug/database/default.
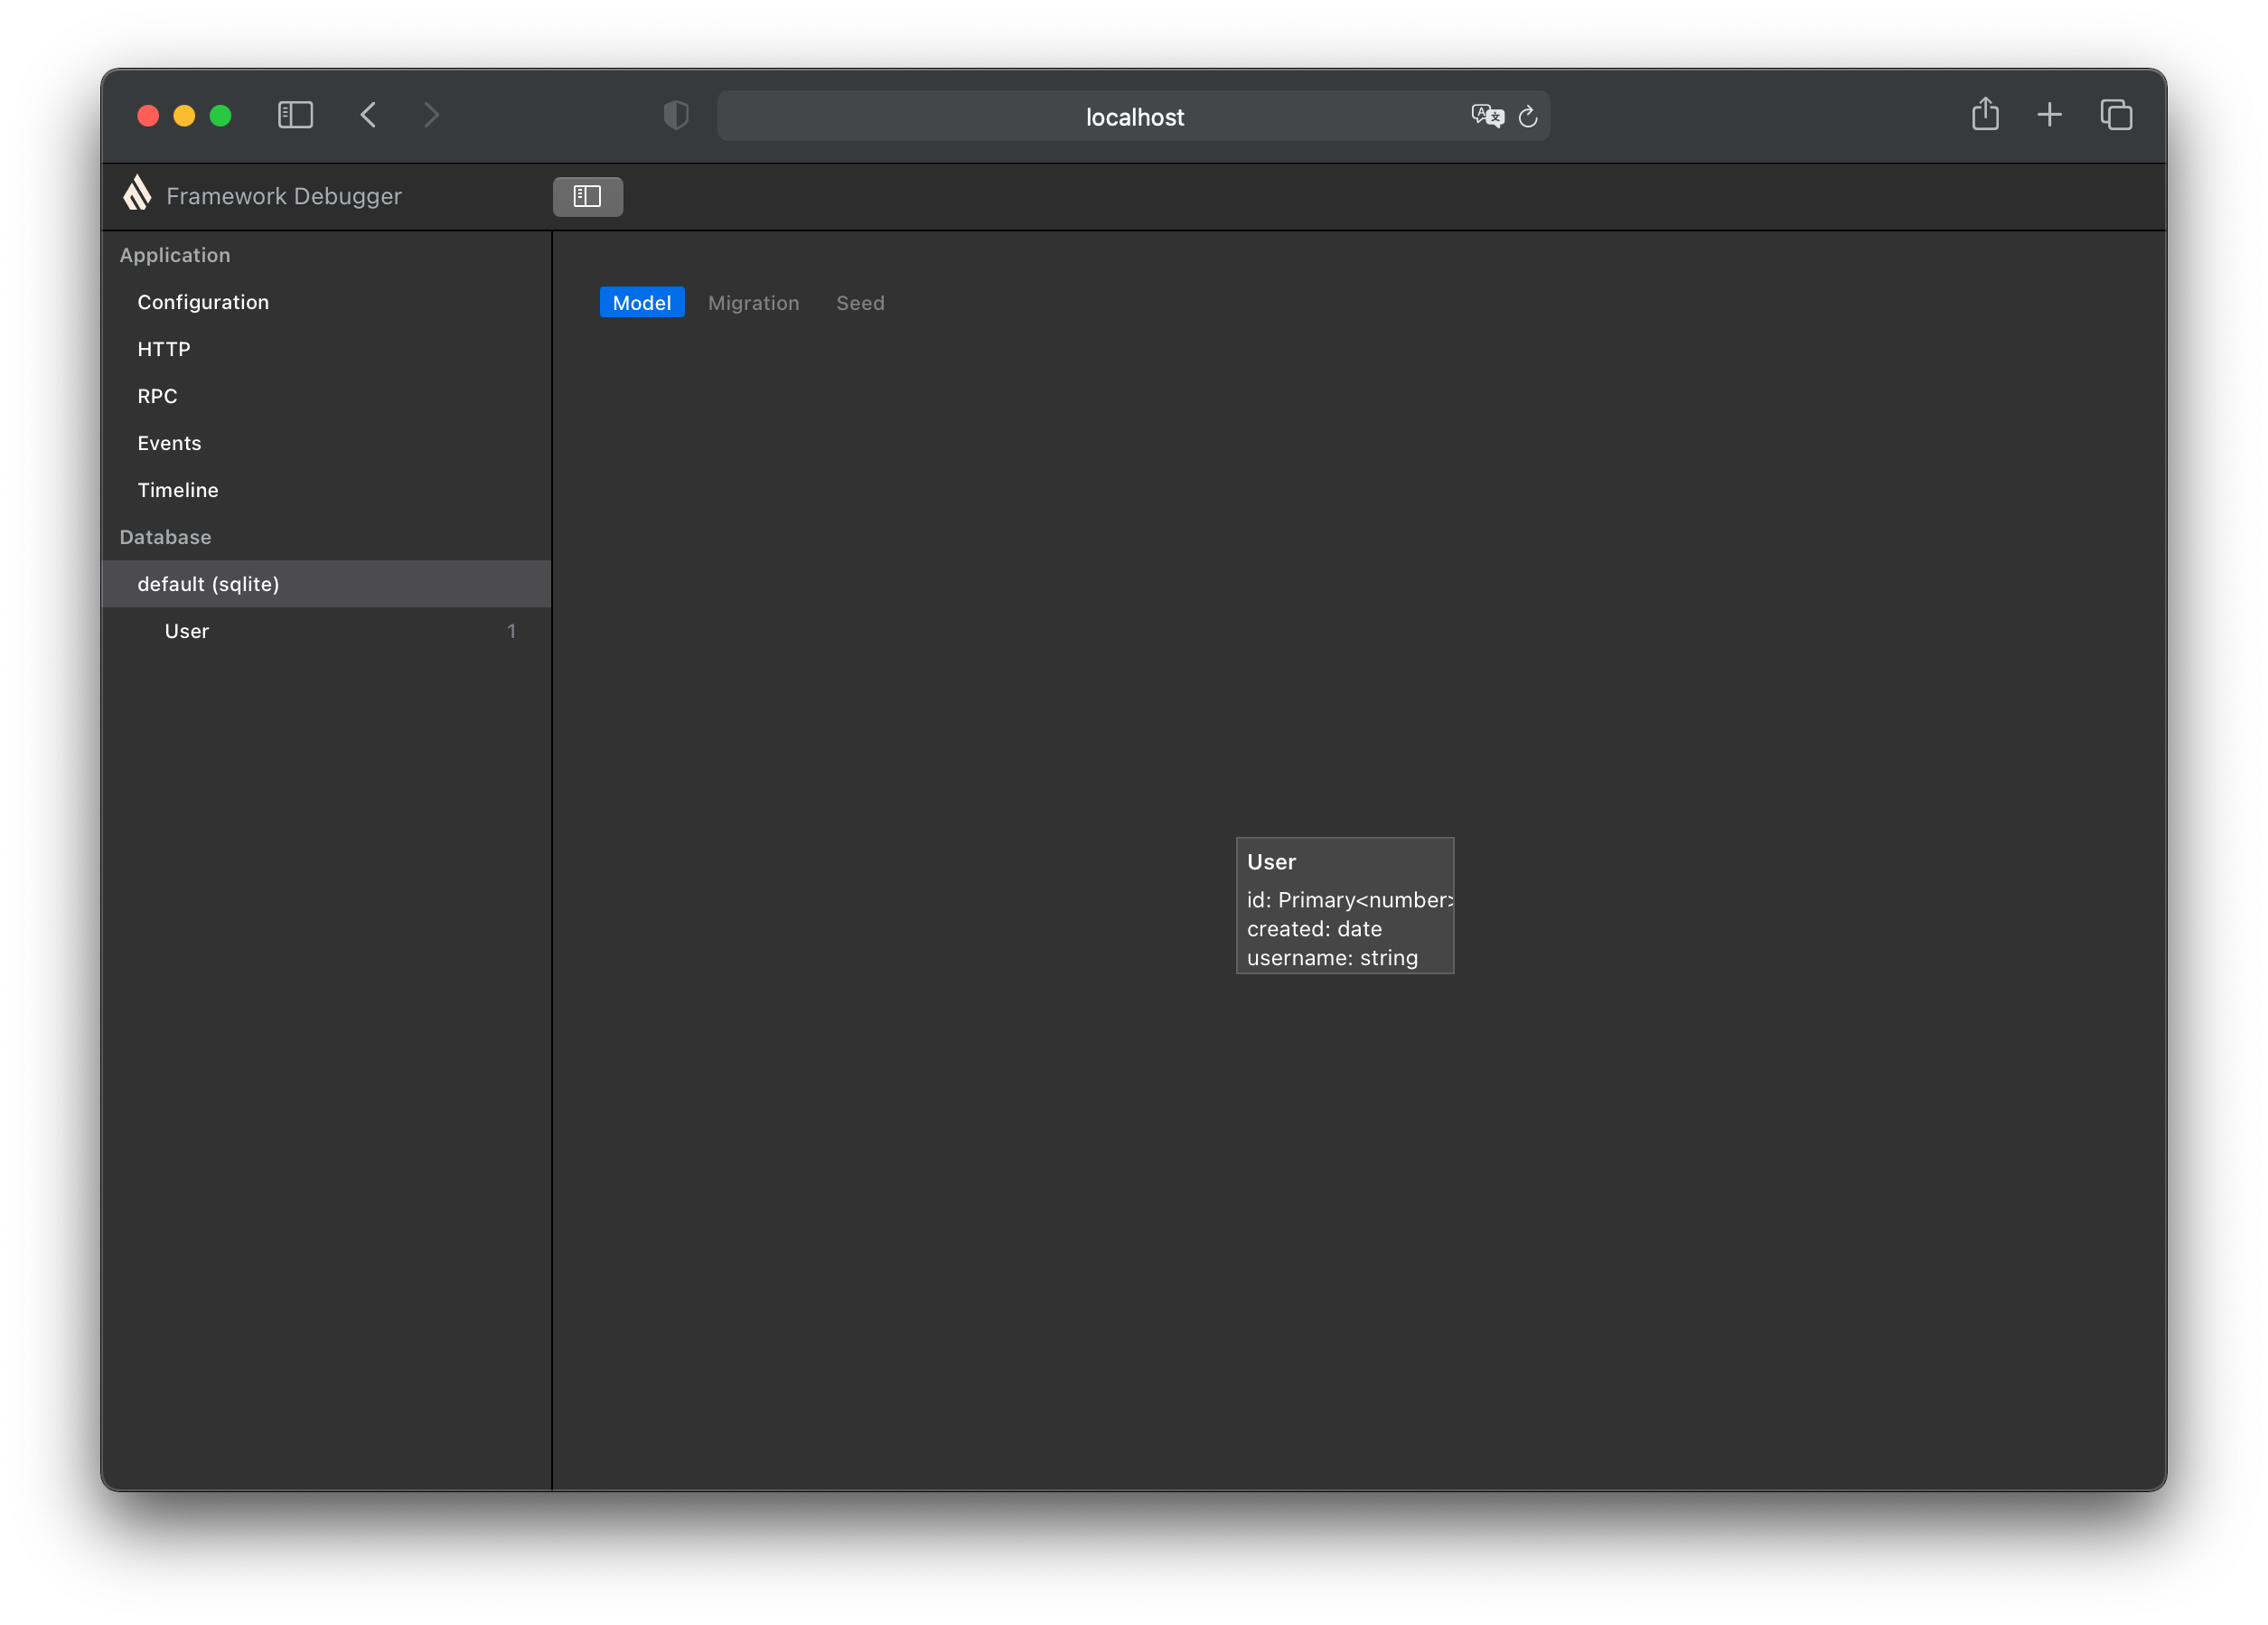
You can see the ER (entity relationship) diagram. At the moment only one entity is available. If you add more with relationships, you will see all the information at a glance.
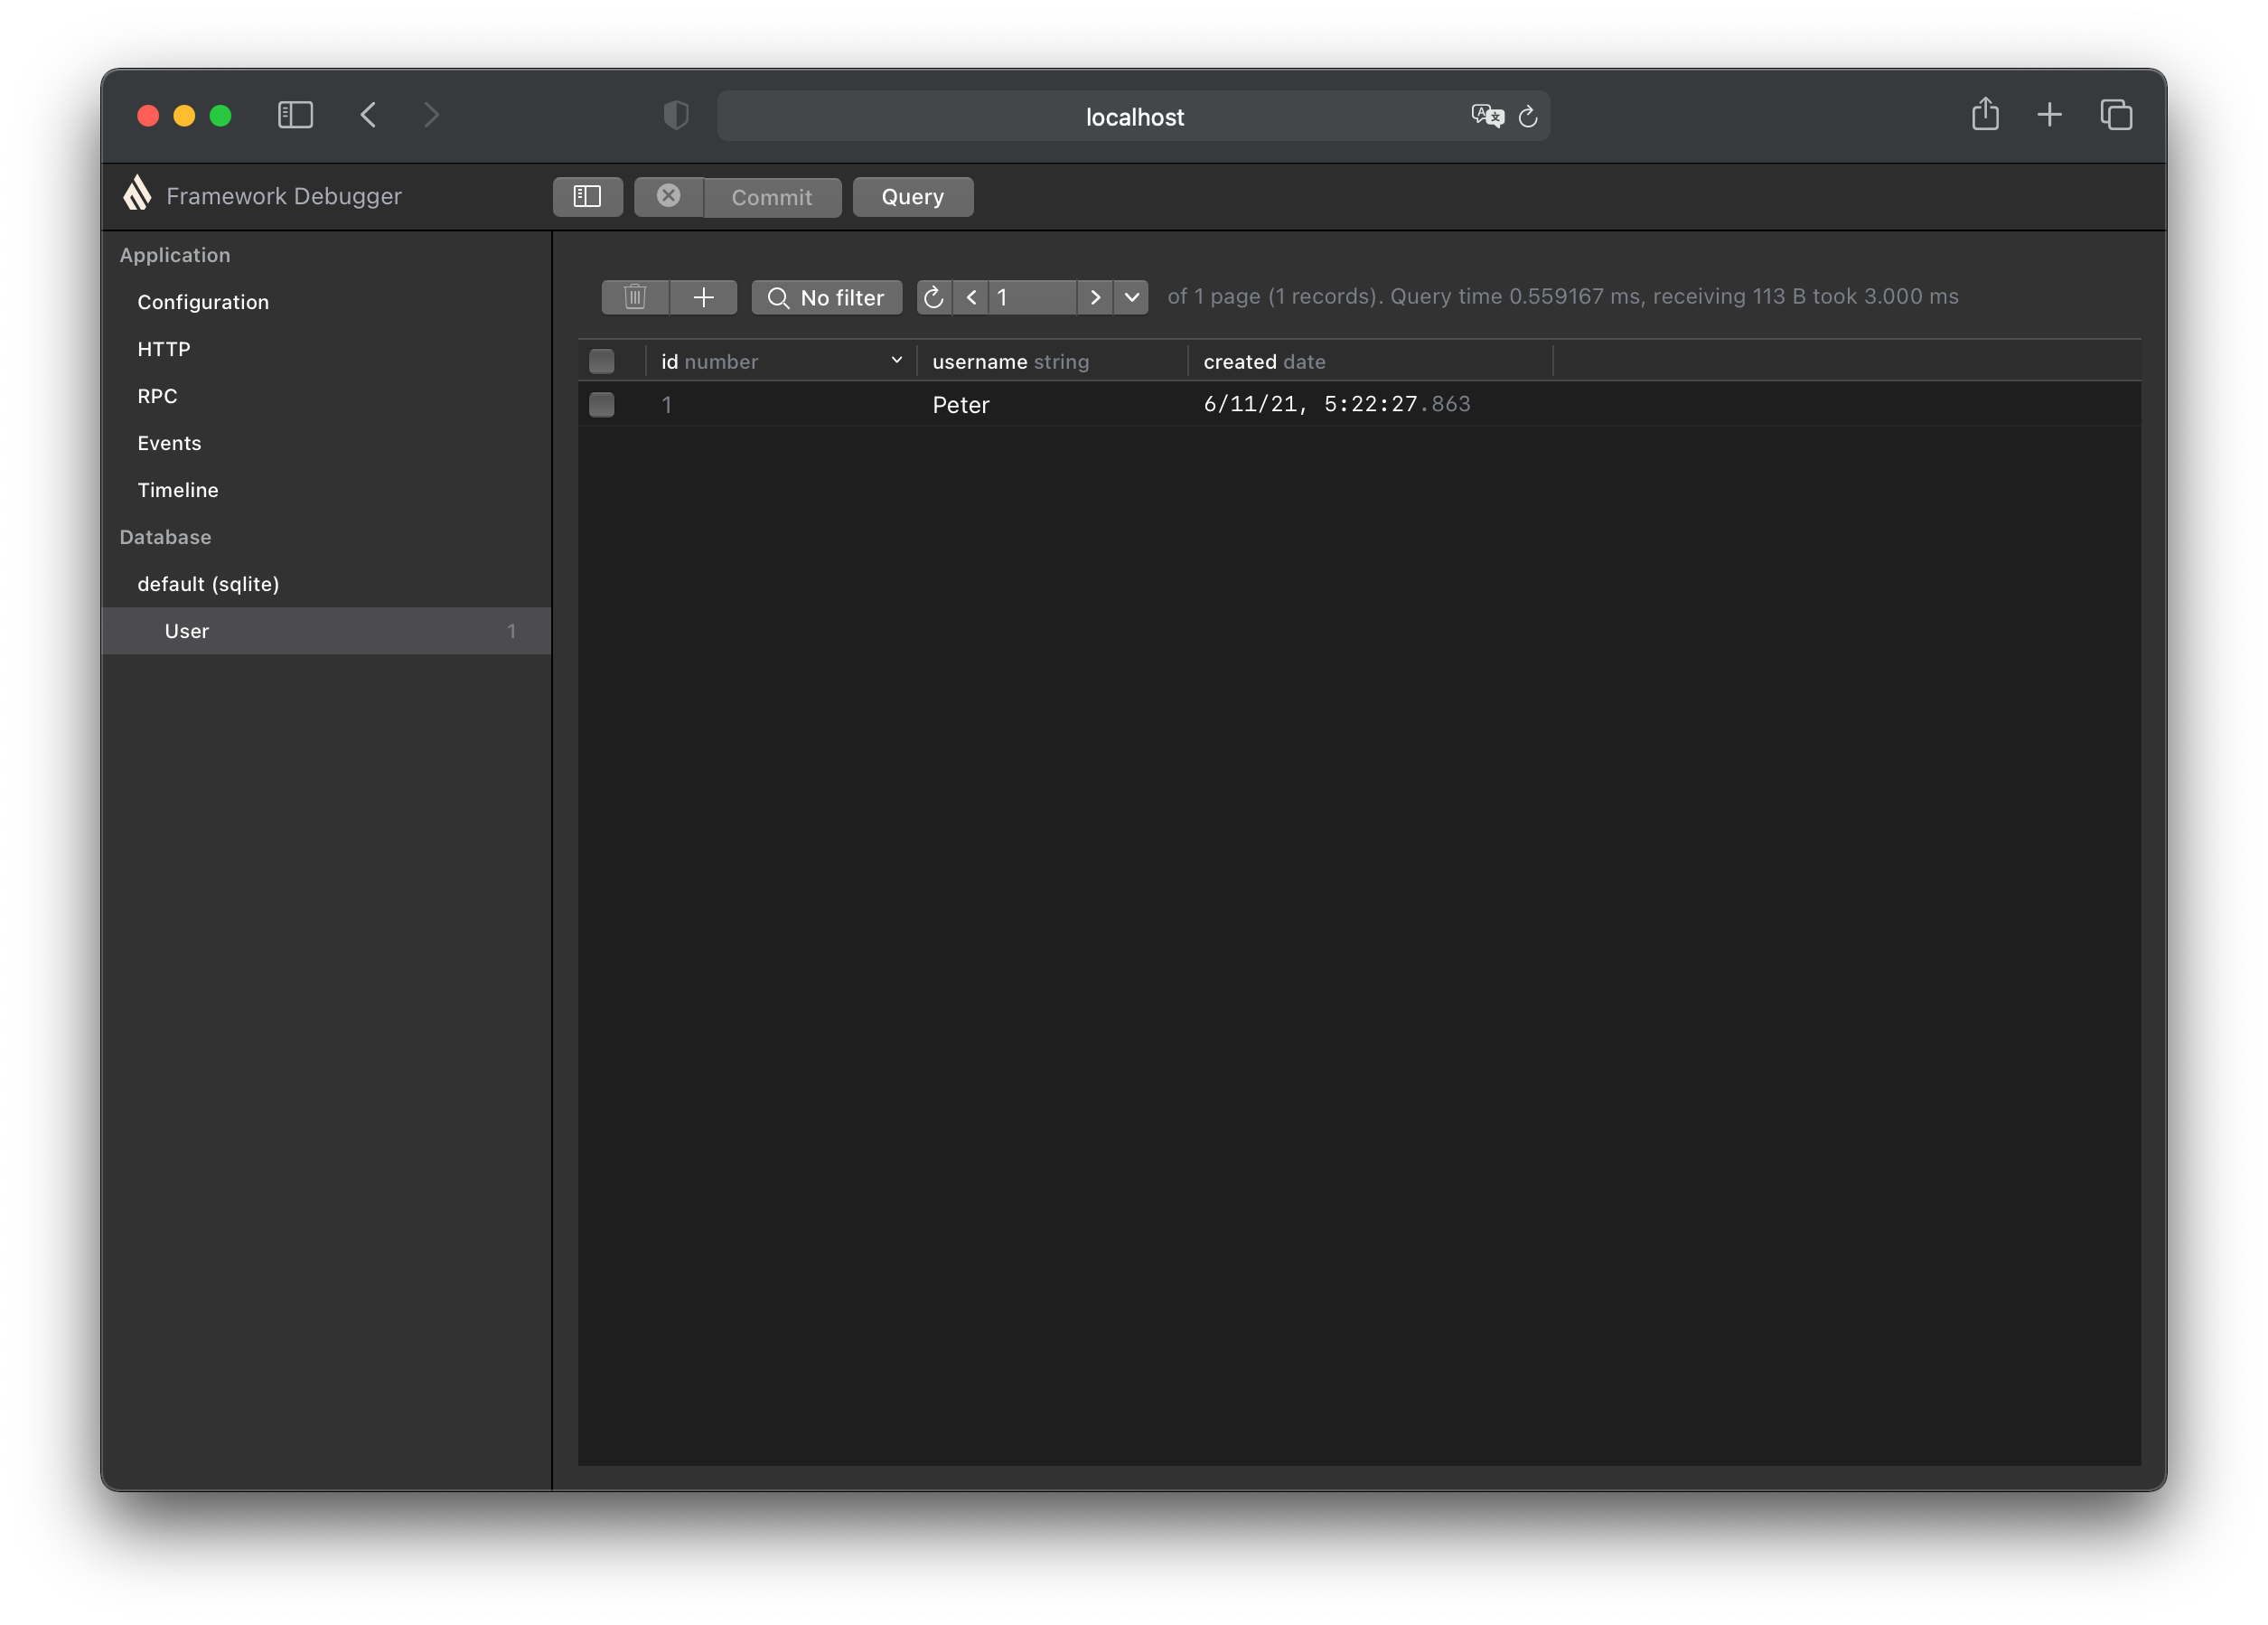
If you click on User in the left sidebar, you can manage its content. Click the + icon and change the title of the new record. After you have changed the required values (such as the user name), click Confirm. This will commit all changes to the database and make them permanent. The auto increment ID will be assigned automatically.
Learn More
To learn more about how SQLiteDatabase works, please read the chapter Database and its subchapters, such as querying data, manipulating data via sessions, defining relations and much more.
Please note that the chapters there refer to the standalone library @deepkit/orm and do not include documentation about the part of the deepkit framework you read above in this chapter. In the standalone library, you instantiate your database class manually, for example via new SQLiteDatabase(). However, in your Deepkit app, this is done automatically using the Dependency Injection container.
Migration
The Deepkit framework has a powerful migration system that allows you to create, execute and revert migrations. The migration system is based on the Deepkit ORM library and is therefore perfectly integrated into the framework.
The FrameworkModule provides several commands to manage migrations.
migration:create- Generates a new migration file based on a database diffmigration:pending- Shows pending migration filesmigration:up- Executes pending migration files.migration:down- Executes down migration, reverting old migration files
ts-node app.ts migration:create --migrationDir src/migrationsA new migration file is created in migrations. This folder is the default directory configured in FrameworkModule. To change it change the configuration either through environment variables (as descripted in the Configuration chapter) or by passing the migrationDir option to the FrameworkModule constructor.
new FrameworkModule({
    migrationDir: 'src/migrations',
})
The newly created migration file contains now the up and down methods based on the difference between the entities defined in your TypeScript app and the configured database. You can now modify the up method to your needs. The down method is automatically generated based on the up method. You commit this file to your repository so that other developers can also execute it.
Pending Migrations
ts-node app.ts migration:pending --migrationDir src/migrationsThis shows all pending migrations. If you have a new migration file that is not executed yet, it will be listed here.
Executing Migrations
ts-node app.ts migration:up --migrationDir src/migrationsThis executes the next pending migration.
Reverting Migrations
ts-node app.ts migration:down --migrationDir src/migrationsThis reverts the last executed migration.
Fake migrations
Let's say you wanted to execute a migration (up or down), but it failed. You fixed the issue manually, but now you can't execute the migration again, because it's already executed. You can use the --fake option to fake the migration, so that it's marked as executed in the database without actually executing it. This way you can execute the next pending migration.
ts-node app.ts migration:up --migrationDir src/migrations --fake